Kubesphere 101: Complete guild to getting started and Kubernetes Multi-Cluster Management


INTRODUCTION TO KUBESPHERE
KubeSphere is a distributed operating system for cloud-native application management, using Kubernetes as its kernel. It provides a plug-and-play architecture, allowing third-party applications to be seamlessly integrated into its ecosystem. It provides an external System to use open standard REST APIs. It can be deployed in any Kubernetes distribution and can run in any cloud and server infrastructure.
GETTING STARTED
Prerequisites:
- 2 or more CPU cores
- More than 2 GB ram
- Kubernetes version must be v1.19.x, v1.20.x, v1.21.x or v1.22.x (experimental)
Installation in Kubernetes
We can either install it in a local cluster or on the cloud. For better understanding we are going to do both.
Installing in a local cluster
We are going to use lens which is a Kubernetes IDE as it is much easier to use compared to Command Lines. You can install it by going to its official website - Lens download
It should look like this and the OS version is automatically selected.
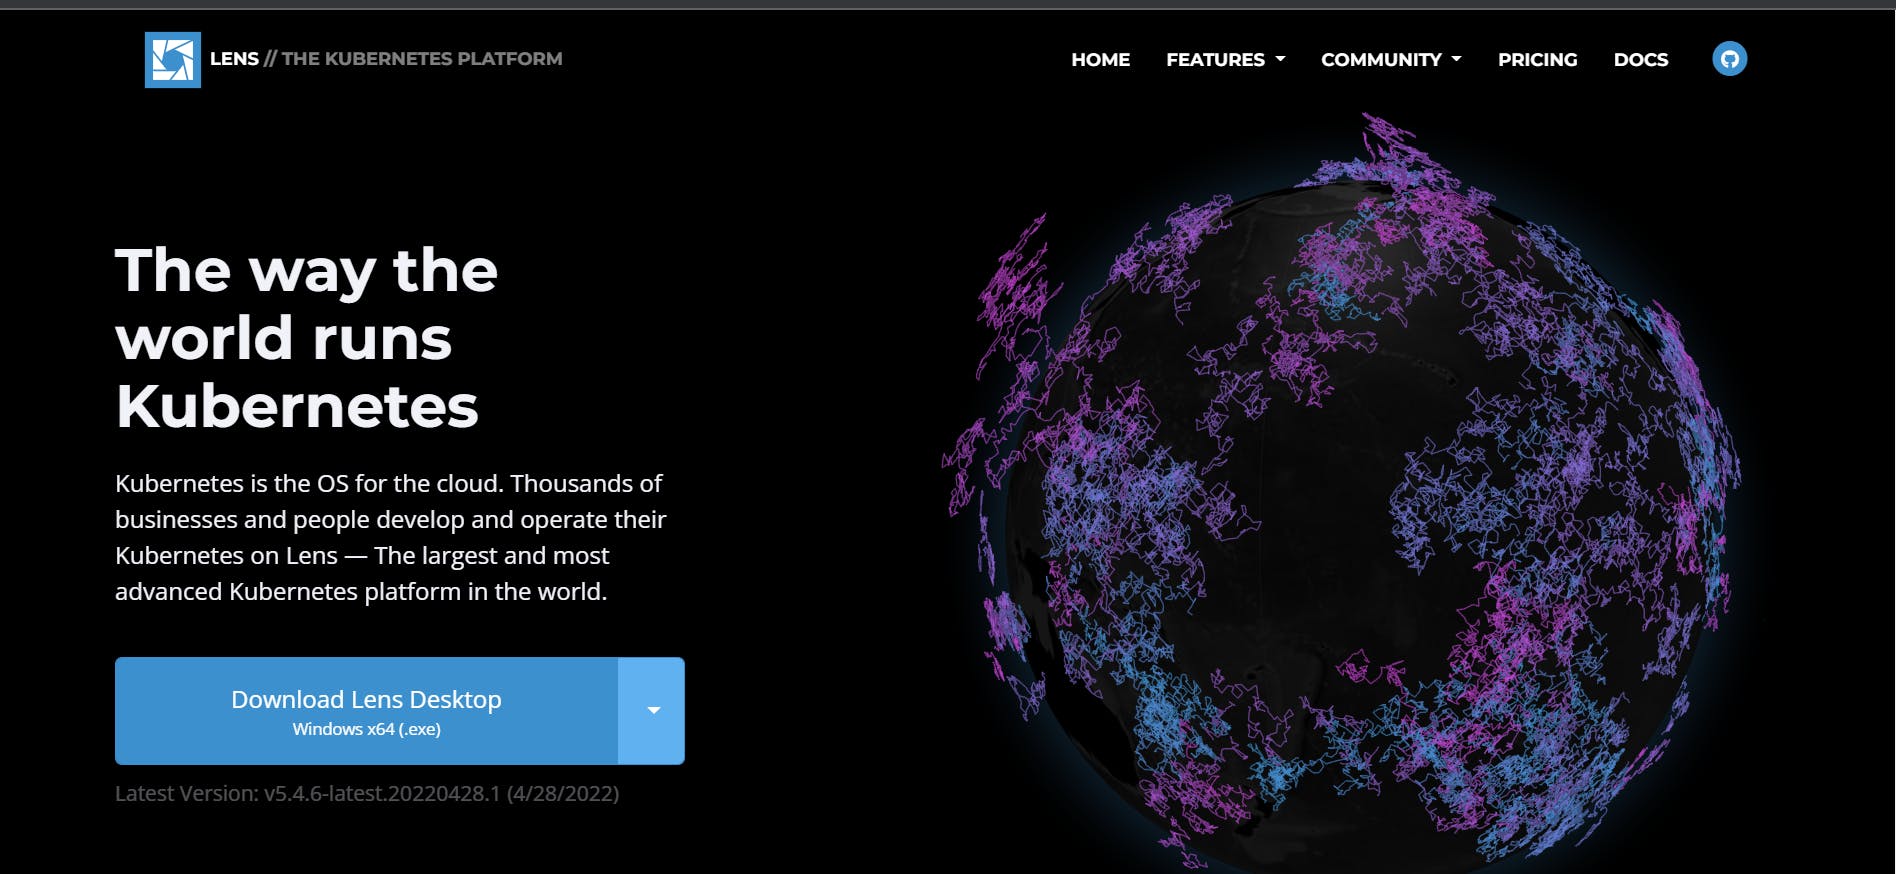
For any issues regarding the installation you can check out their docs
We also need to install minikube which acts as a one node for all cluster. In windows you can directly install it using terminal.
winget install minikube
It should look like this:

For other OS you can visit their website right here.
From a terminal with administrator access (but not logged in as root), run:
minikube start
remember to restart you terminal is you are using CLI in windows else it might show some error.
It should look like this.

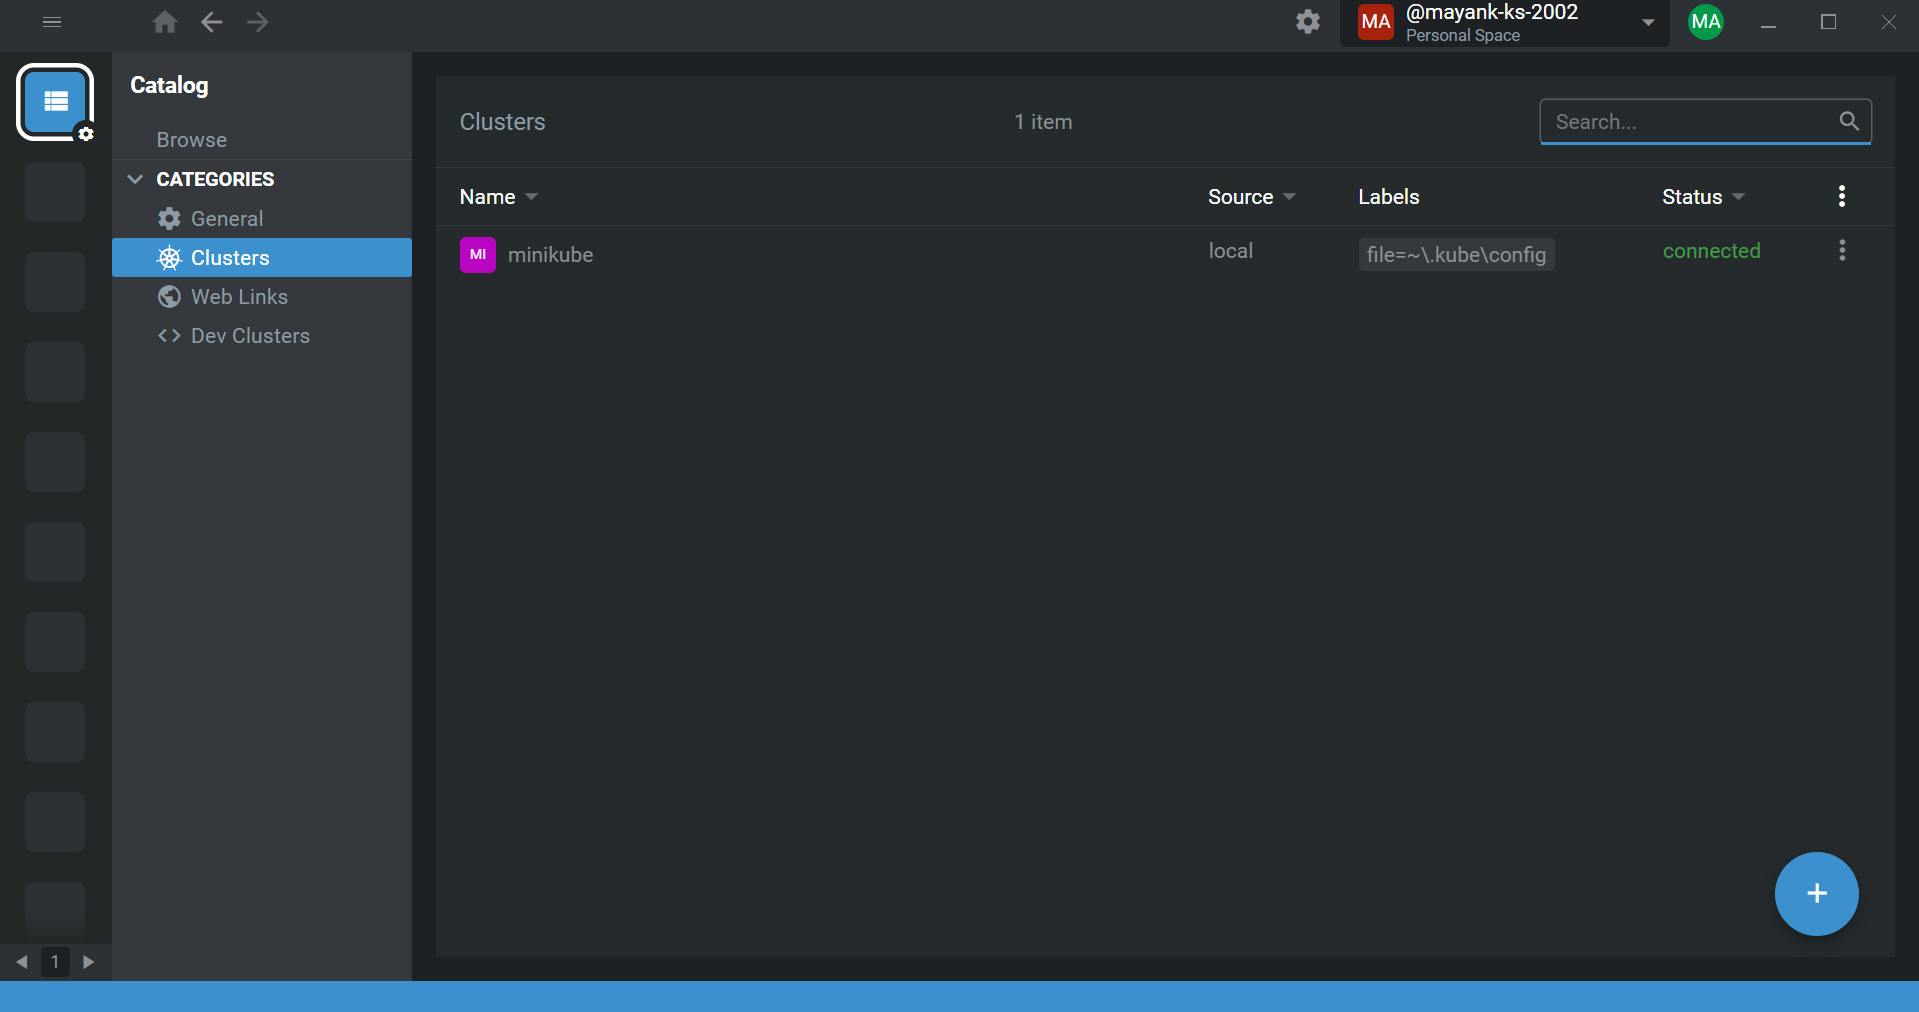
And as you can see, minikube created a cluster which is nothing but a virtual machine using docker which is using 2 CPU cores and almost 4 GB of memory. It should also show in you lens and docker desktop somewhat like this (if not try refreshing or restarting):
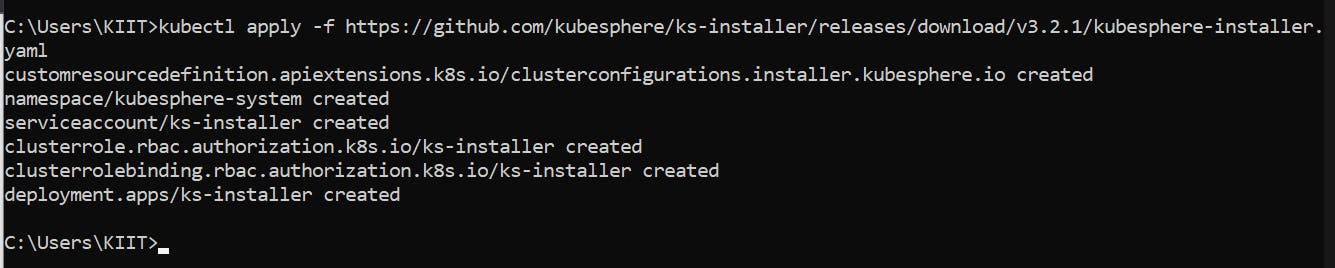
Now to install kubesphere in Minikube, we are going to run the following command in the terminal:
kubectl apply -f https://github.com/kubesphere/ks-installer/releases/download/v3.2.1/kubesphere-installer.yaml
It should look something like this:
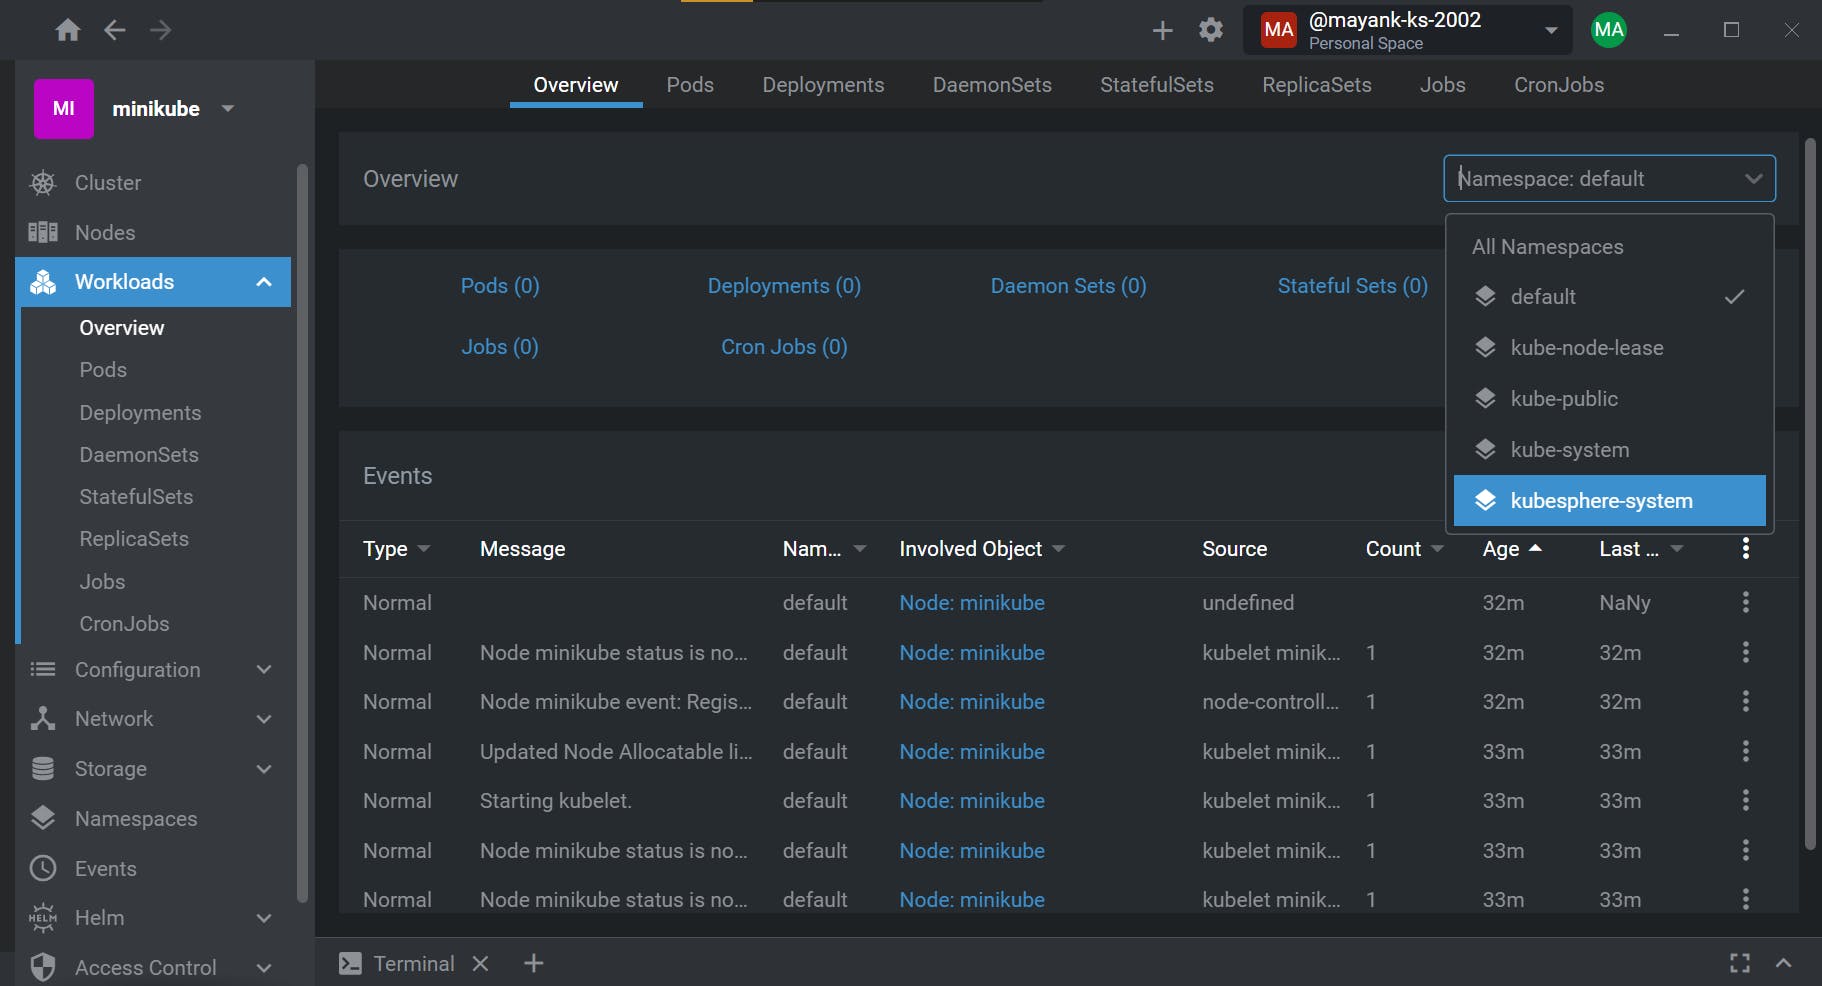
Now if you go to lens, in minikube -> workload -> overview and change it to kubesphere-system , you can see that we have one deployment.
Now you need to do the same for the cluster configuration using this command in terminal:
kubectl apply -f https://github.com/kubesphere/ks-installer/releases/download/v3.2.1/cluster-configuration.yaml
And with that you are done installing Kubesphere in the local cluster. Give it some time to setup all the clusters and then you can simply go to network -> services -> select k8.console, and port forward like shown below to access the kubesphere dashboard.
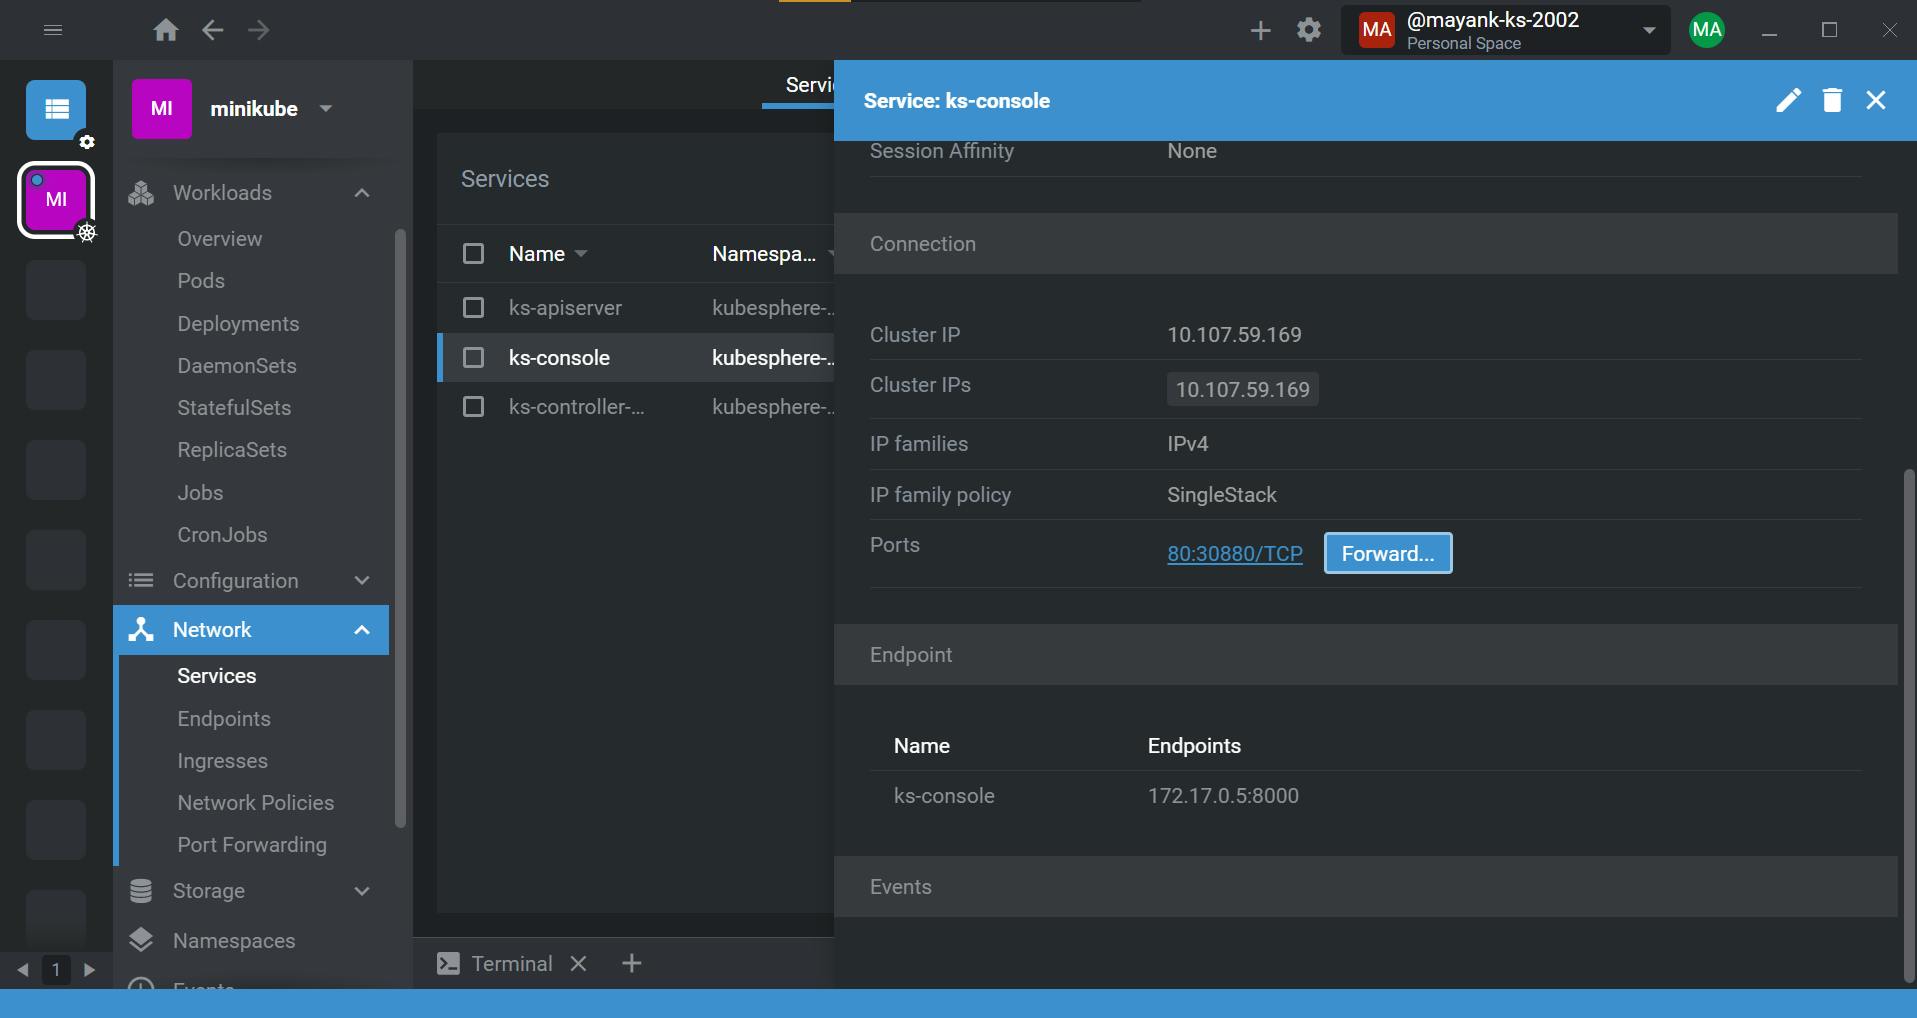
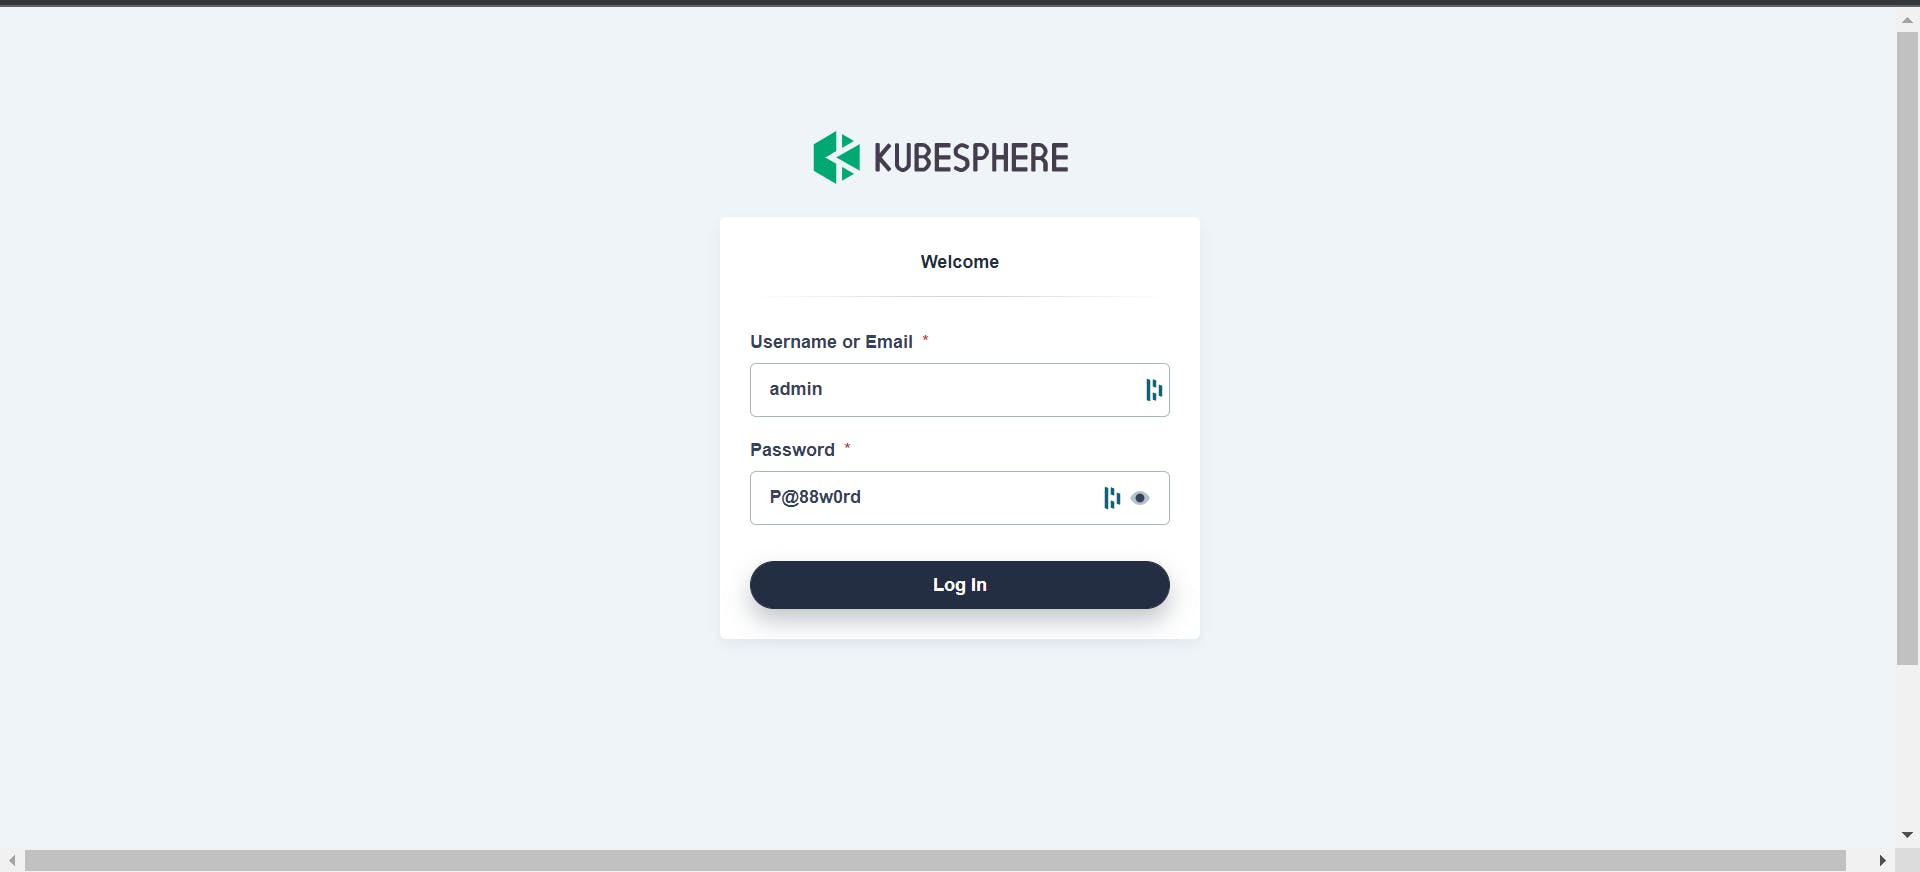
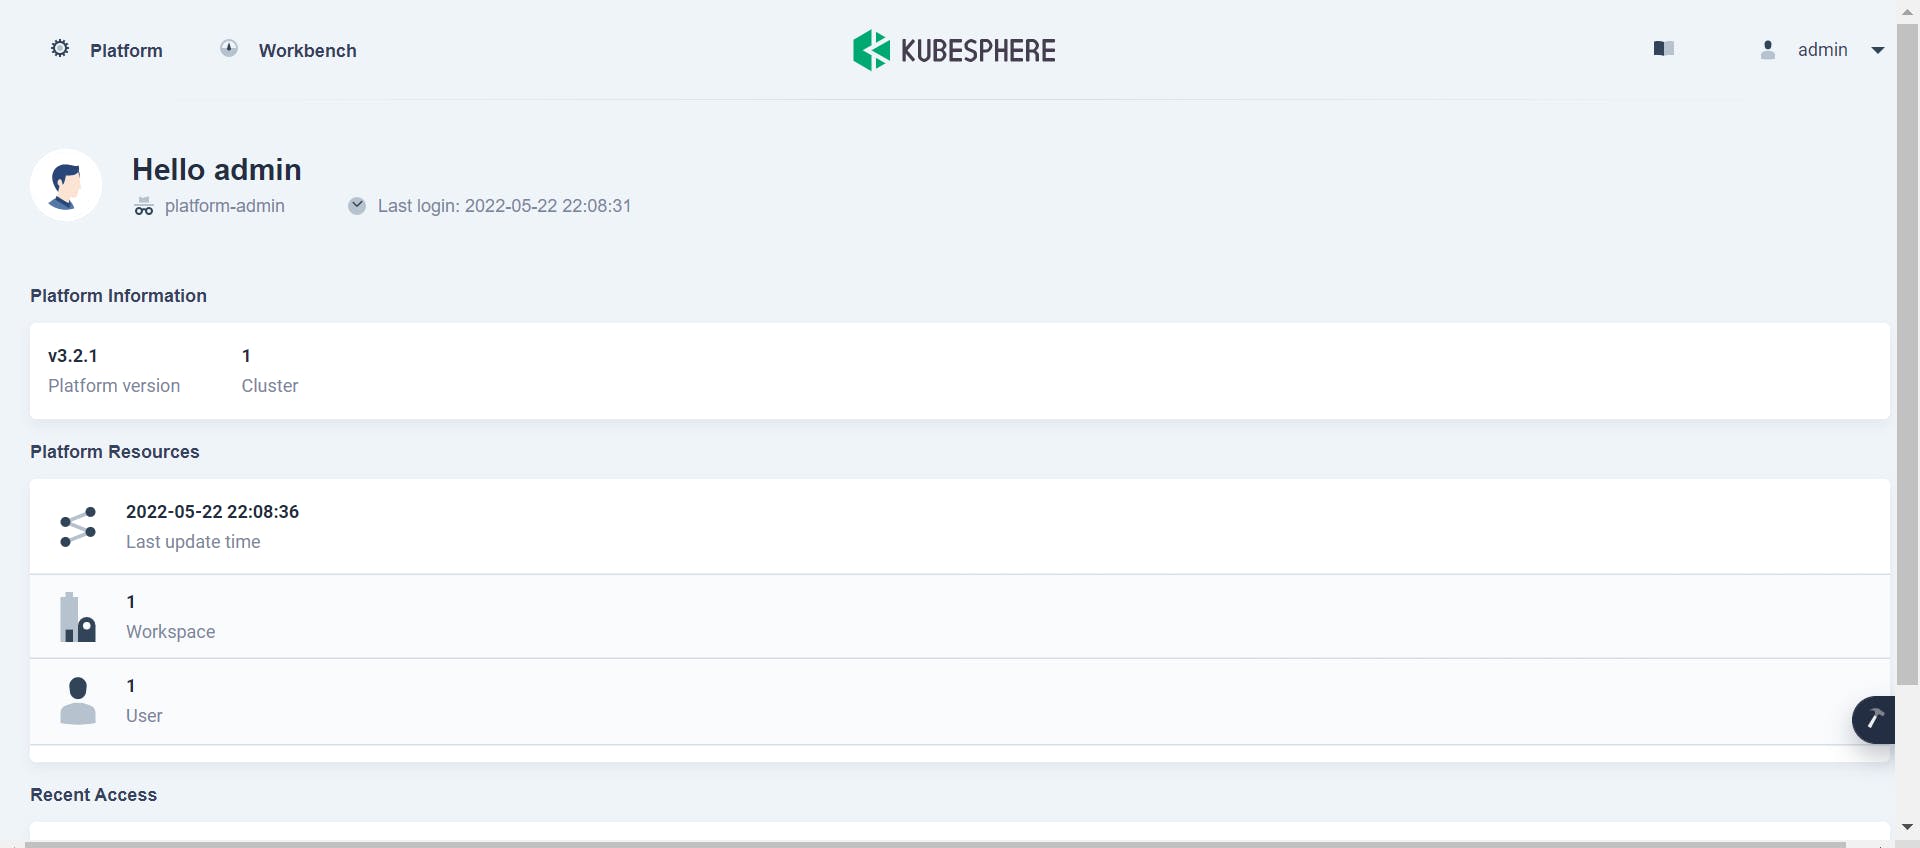
As you will see it is accessing a local port which needs to be open for it to work. You can then see a login screen in which the default
user id is: admin and password is: P@88w0rd, which you will definitely be asked to change.
Installing on Cloud
Here we will be using Civo but the same process also applies for other cloud providers.
If not already, you can go ahead and create your account in Civo here.
Then we have to create a new cluster, you can see what settings I use. You can create a firewall by going to manage -> firewall, I have used the default one. Also I have chosen the size as large but medium will also work fine, all it matters is it meets the requirements.

For the CNI use cilium and if you haven't guessed already it comes under the management category, there select Kubesphere and don't worry about the preselected applications go ahead and create it. It will take around 90 seconds to create.
After completion it should look something like this:
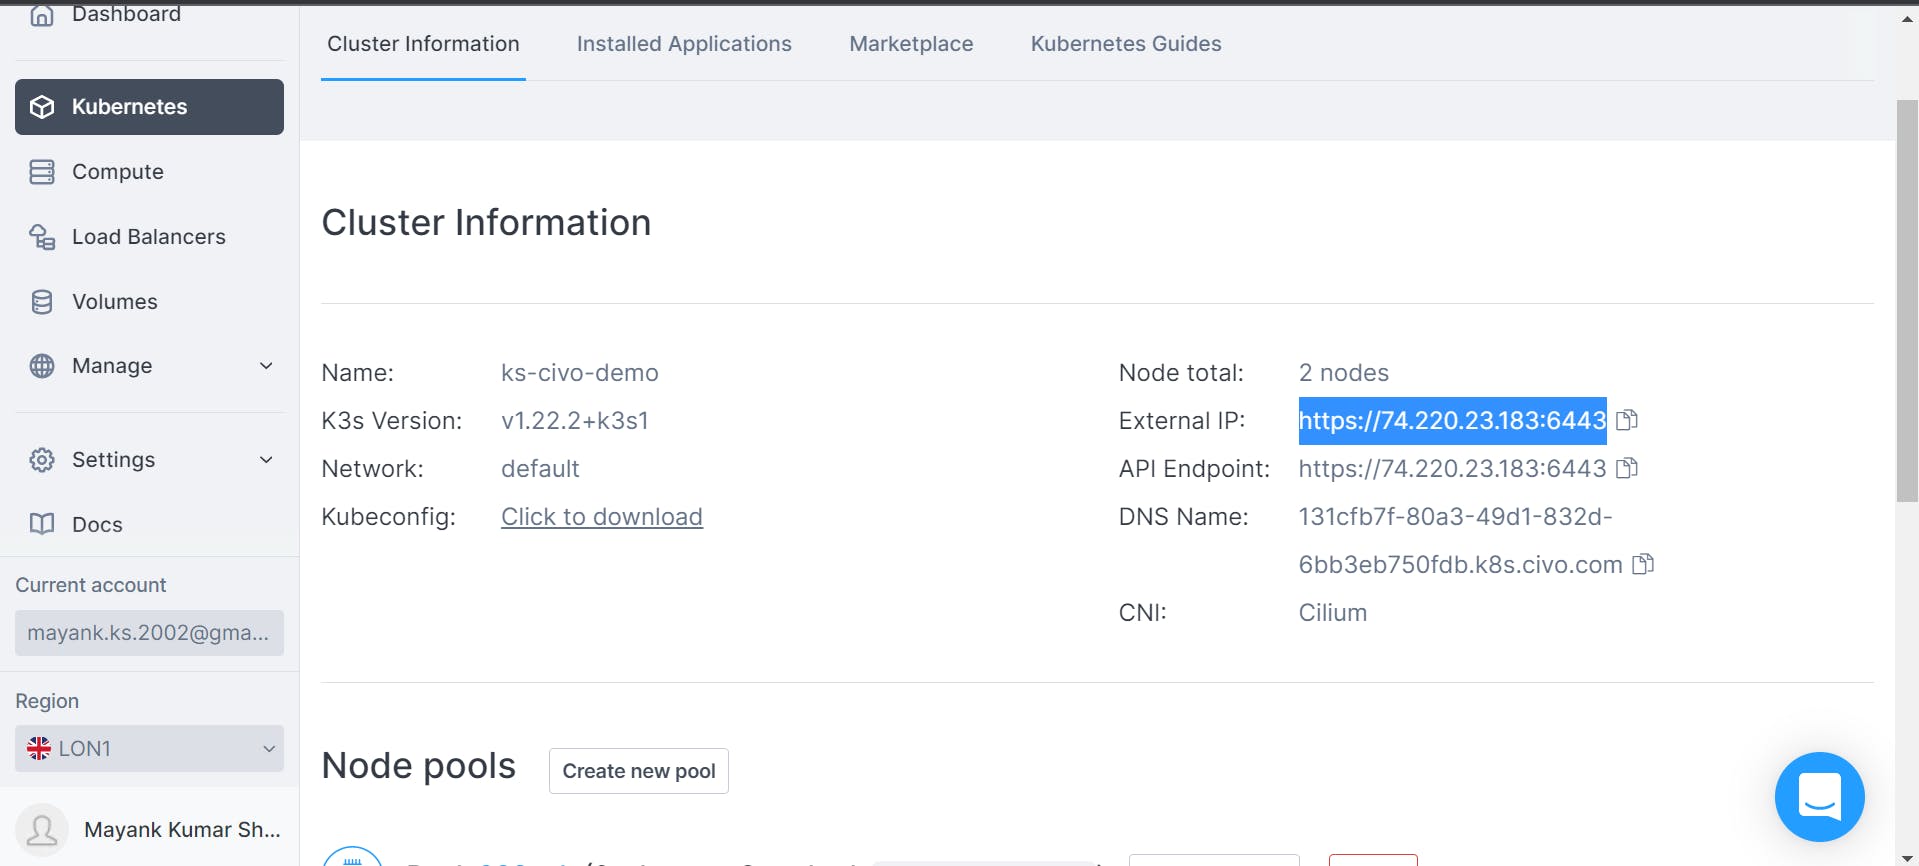
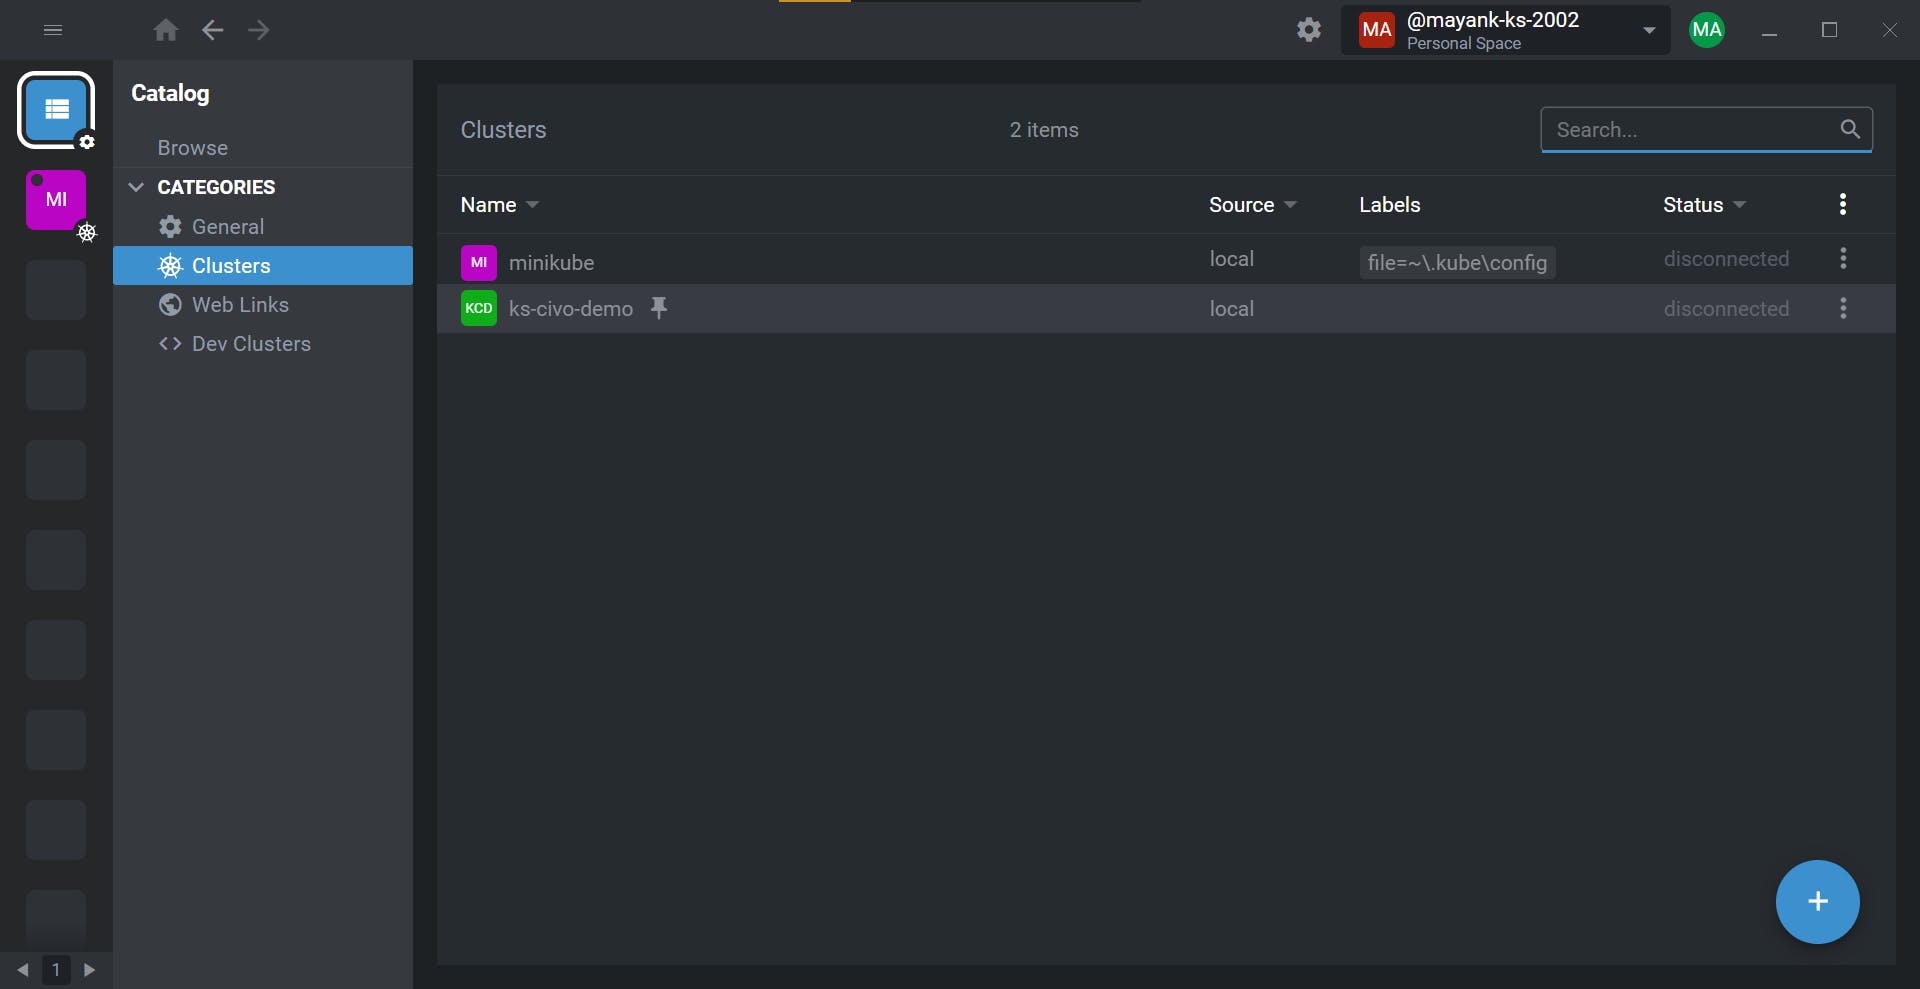
The external IP is what we will be using to access the Kubesphere dashboard and connect with the web consoles. Now go ahead and download the kubeconfig file and open it in a text editor, from there copy it and go to lens -> add to kubeconfig as shown below and paste it there.
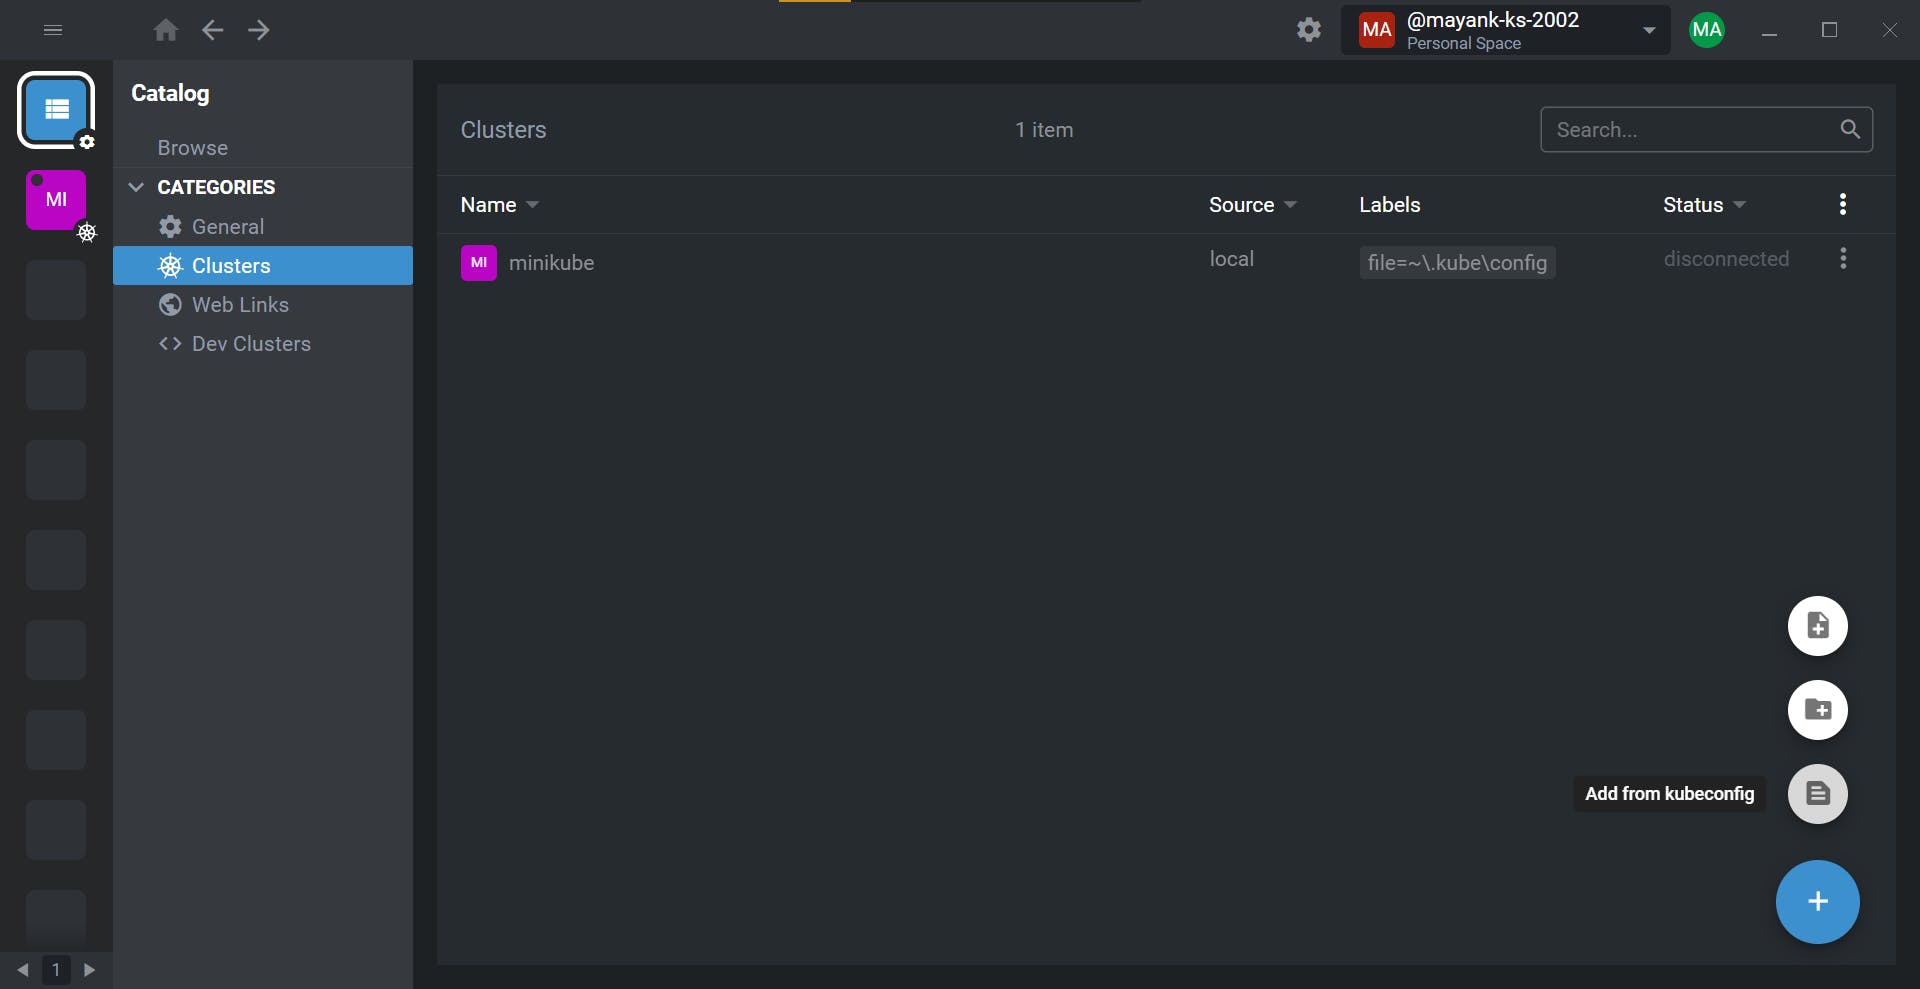
Then you can see it gets added in your lens where you can access and control it. I named my cluster k8-civo-demo and as you can see it is visible.
Give it some time and then you can access the KubeSphere dashboard using the external IP at the same port without any issues.
Multi-Cluster Management using KubeSphere
One of the key features of KubeSphere is its ability to distribute applications across multiple clusters and cloud providers, and provide disaster recovery solutions and cross-cluster observability.
It does so by taking of the clusters among many and making it act like a controlplane . It then becomes the host cluster and the remaining are called member cluster.
How to make Host Cluster and Member Cluster
For this we are again going to use Civo but as mentioned earlier, any cloud platform will work. First we need to create an additional cluster as there is no multi with one. We will keep all of the configuration the same as before and create it. I am using one for convenience but you can add as many member cluster as you want.
Now while the member cluster is being created we will make out demo cluster a host. For that you need to open the KubeSphere dashboard and there you need to go to platform -> cluster management and then to CRD which stands for Custom Resource Definition. There you want to select clusterConfiguration and edit YAML in ks-installer like so:
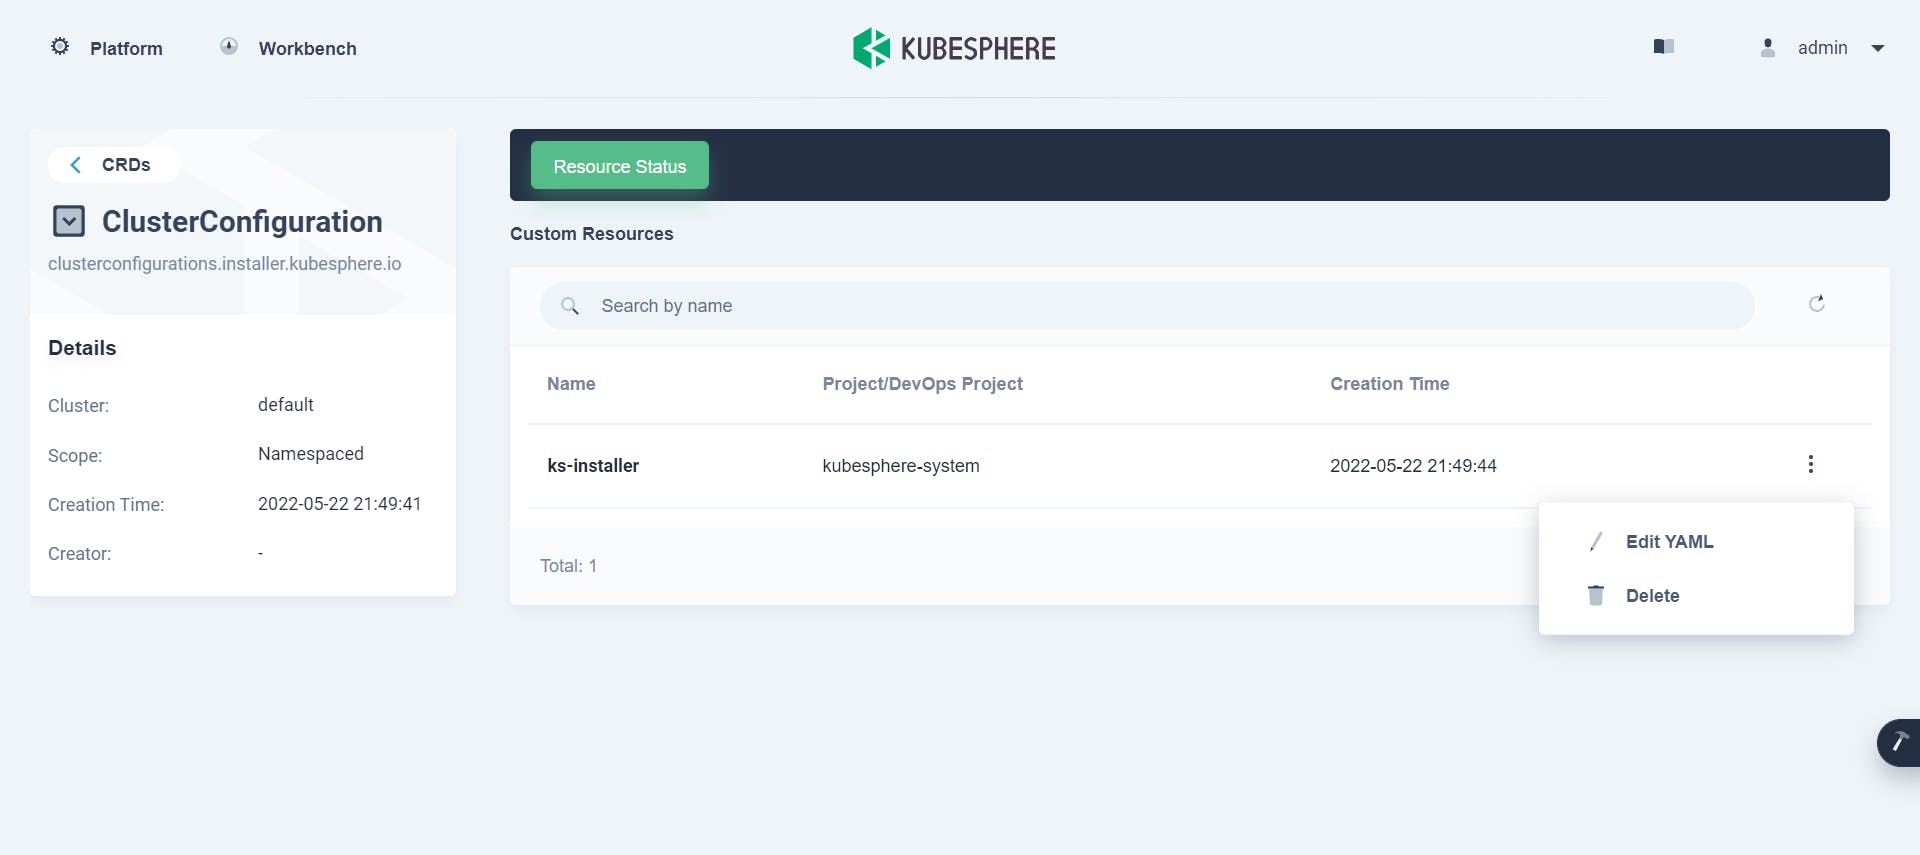
There you want to find the tag multicluster cluster role as shown below and change its role form none to host.
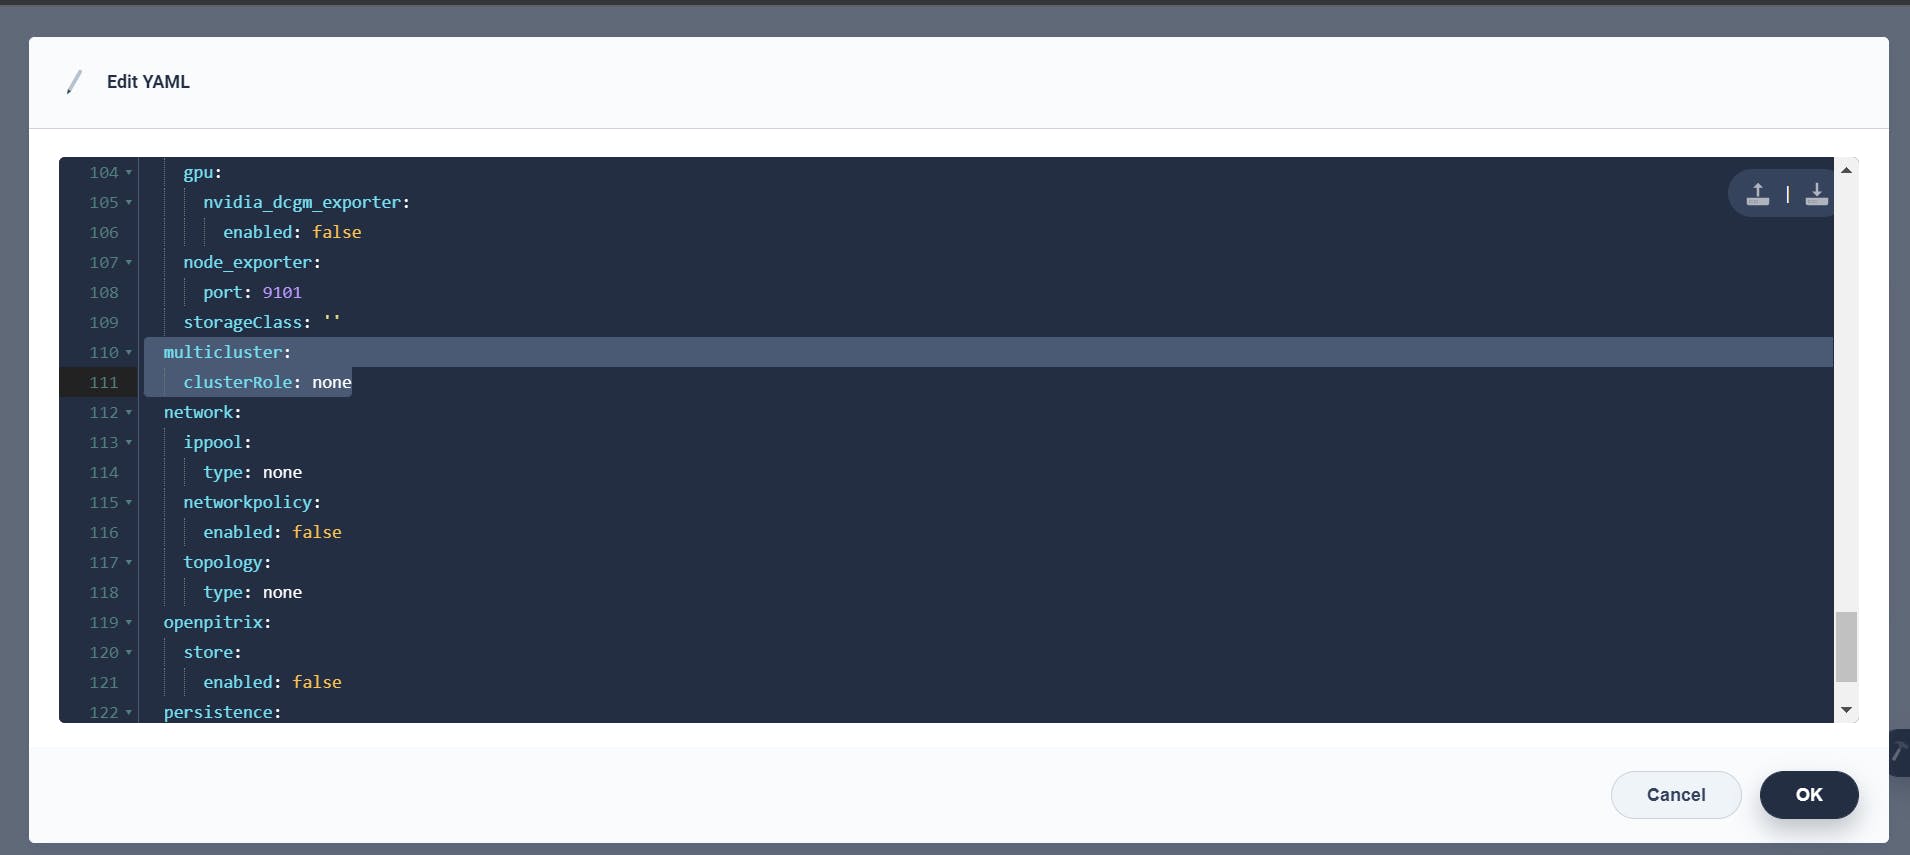
I have also given the changed code below so you can understand better, and that's it you are done.
  multicluster:
    clusterRole: host
Now we need some clusters for our host to manage and for it we need JWT token so lets go to kubectl in KubeSphere like so:
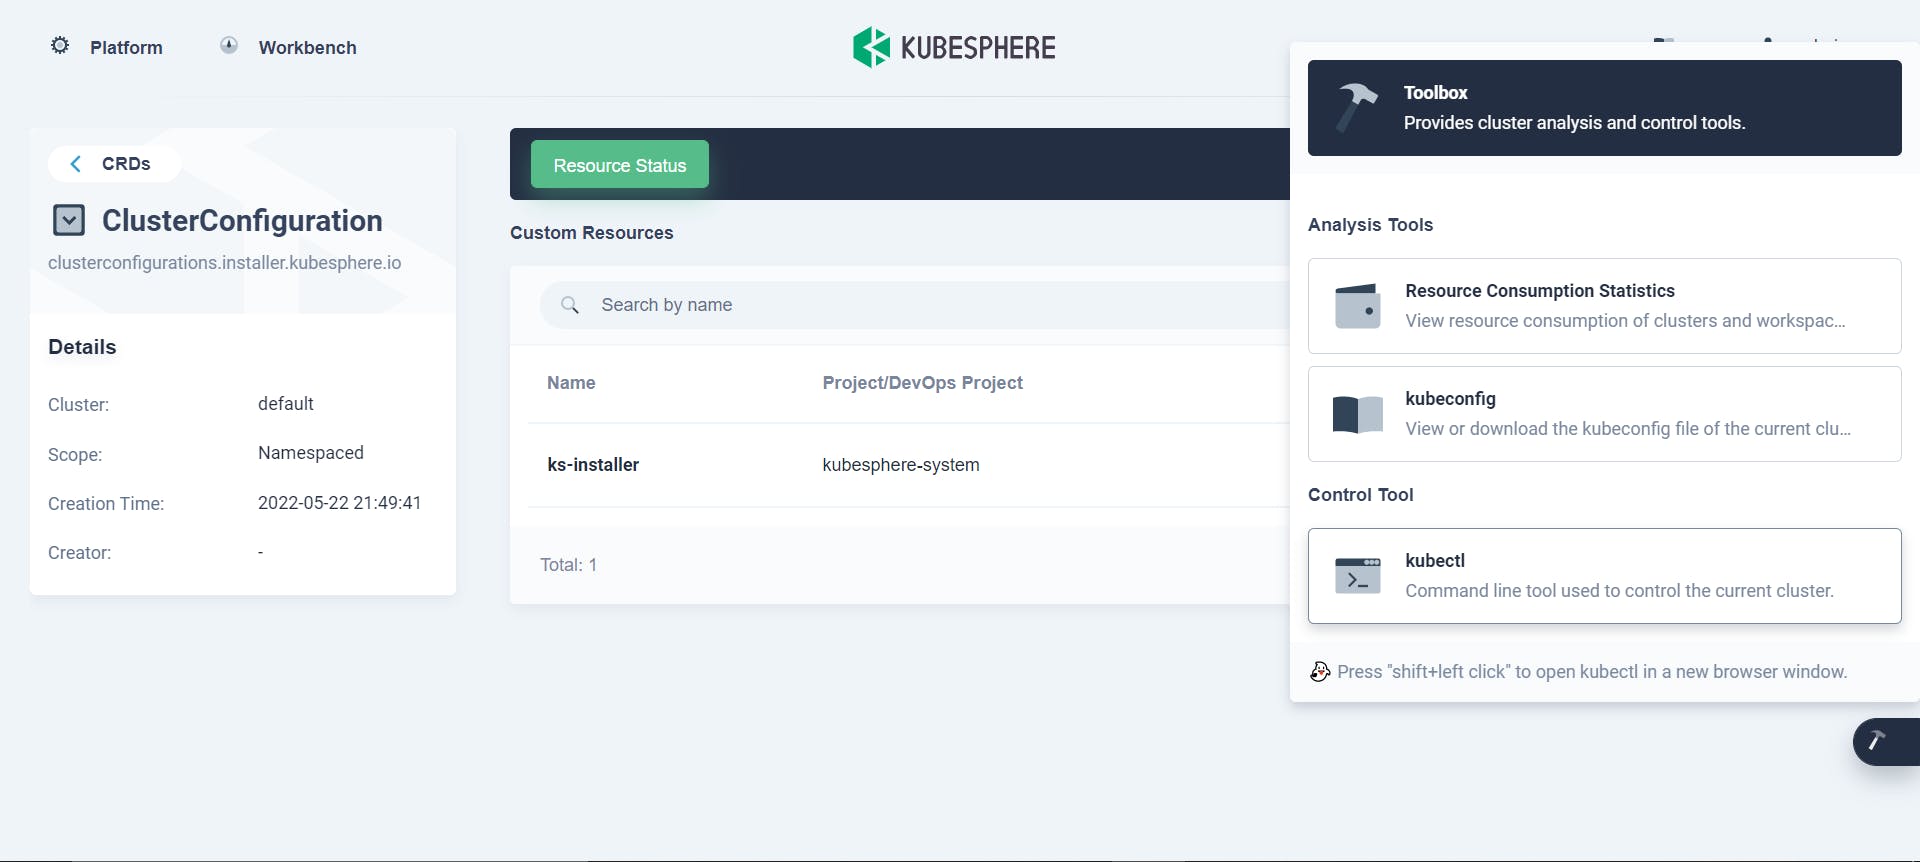
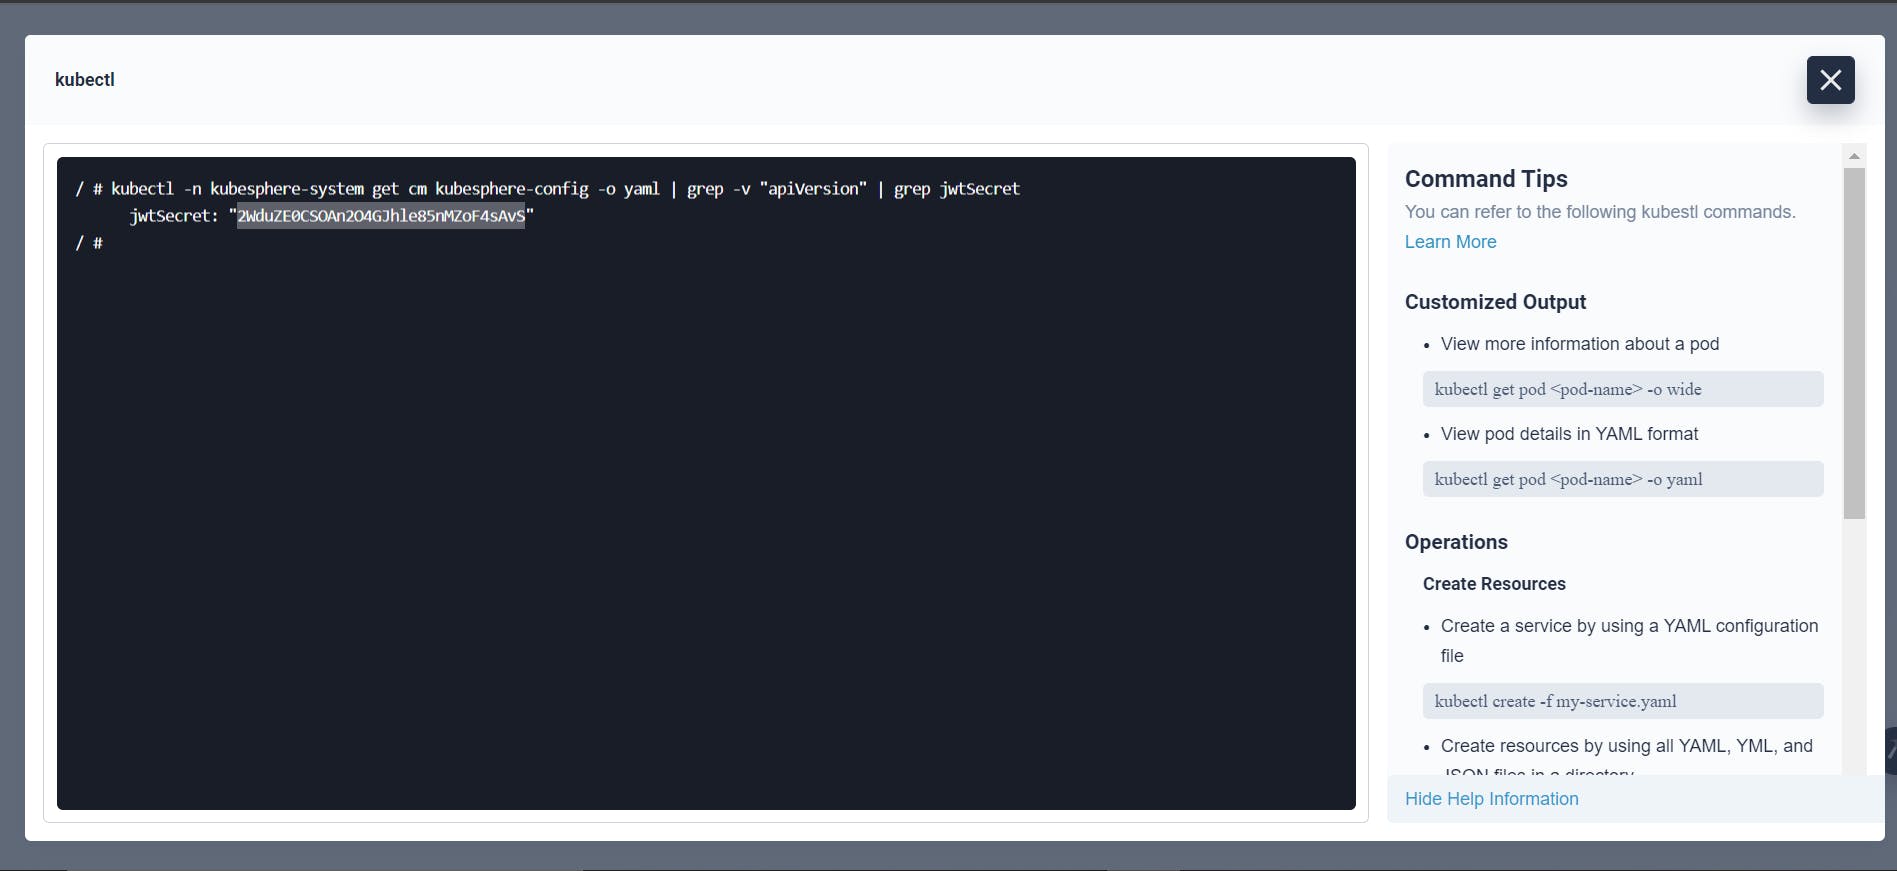
There we need to use the following command and we will get the JWT token:
kubectl -n kubesphere-system get cm kubesphere-config -o yaml | grep -v "apiVersion" | grep jwtSecret
This here is the token we are looking for, go ahead and copy it.
Now we open the KubeSphere dashboard of the new cluster that we created using the external API and the port address 30880. If it is not opening don't worry as it might be because the cluster is still loading. When done go to platform -> cluster management -> CRD -> then select clusterConfiguration and then edit YAML in ks-installer like so:
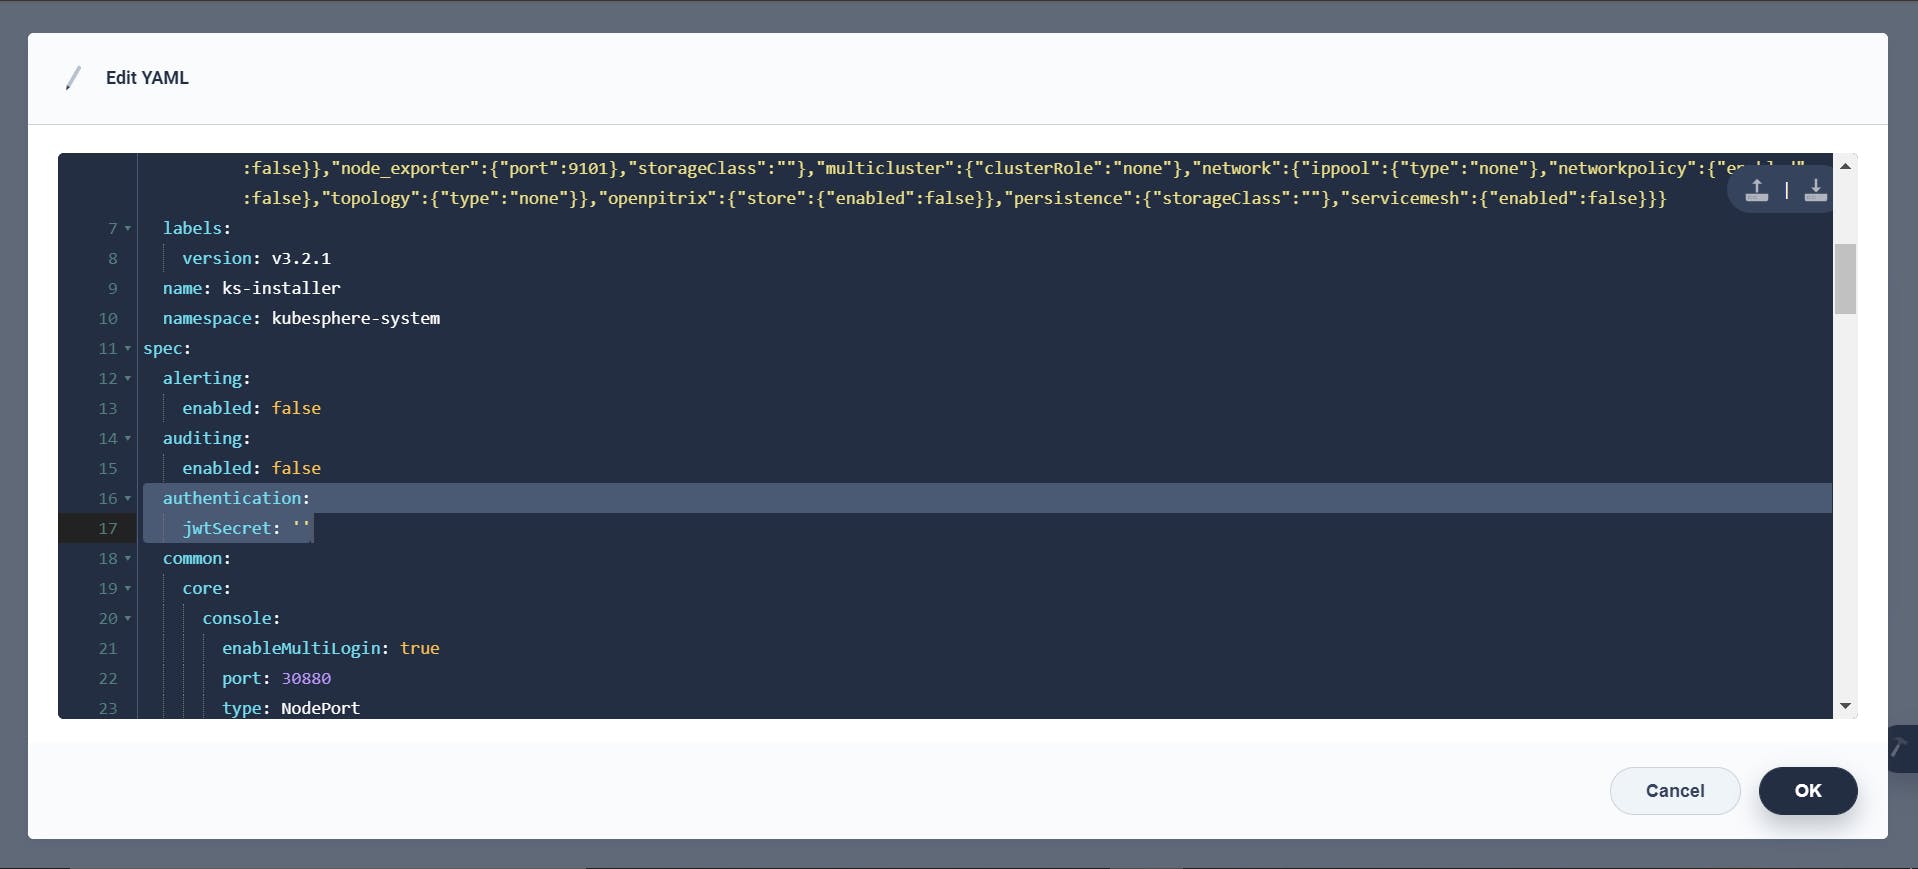
Then here enter the JWT token and then change the multicluster role from none to member like given below and you are done.
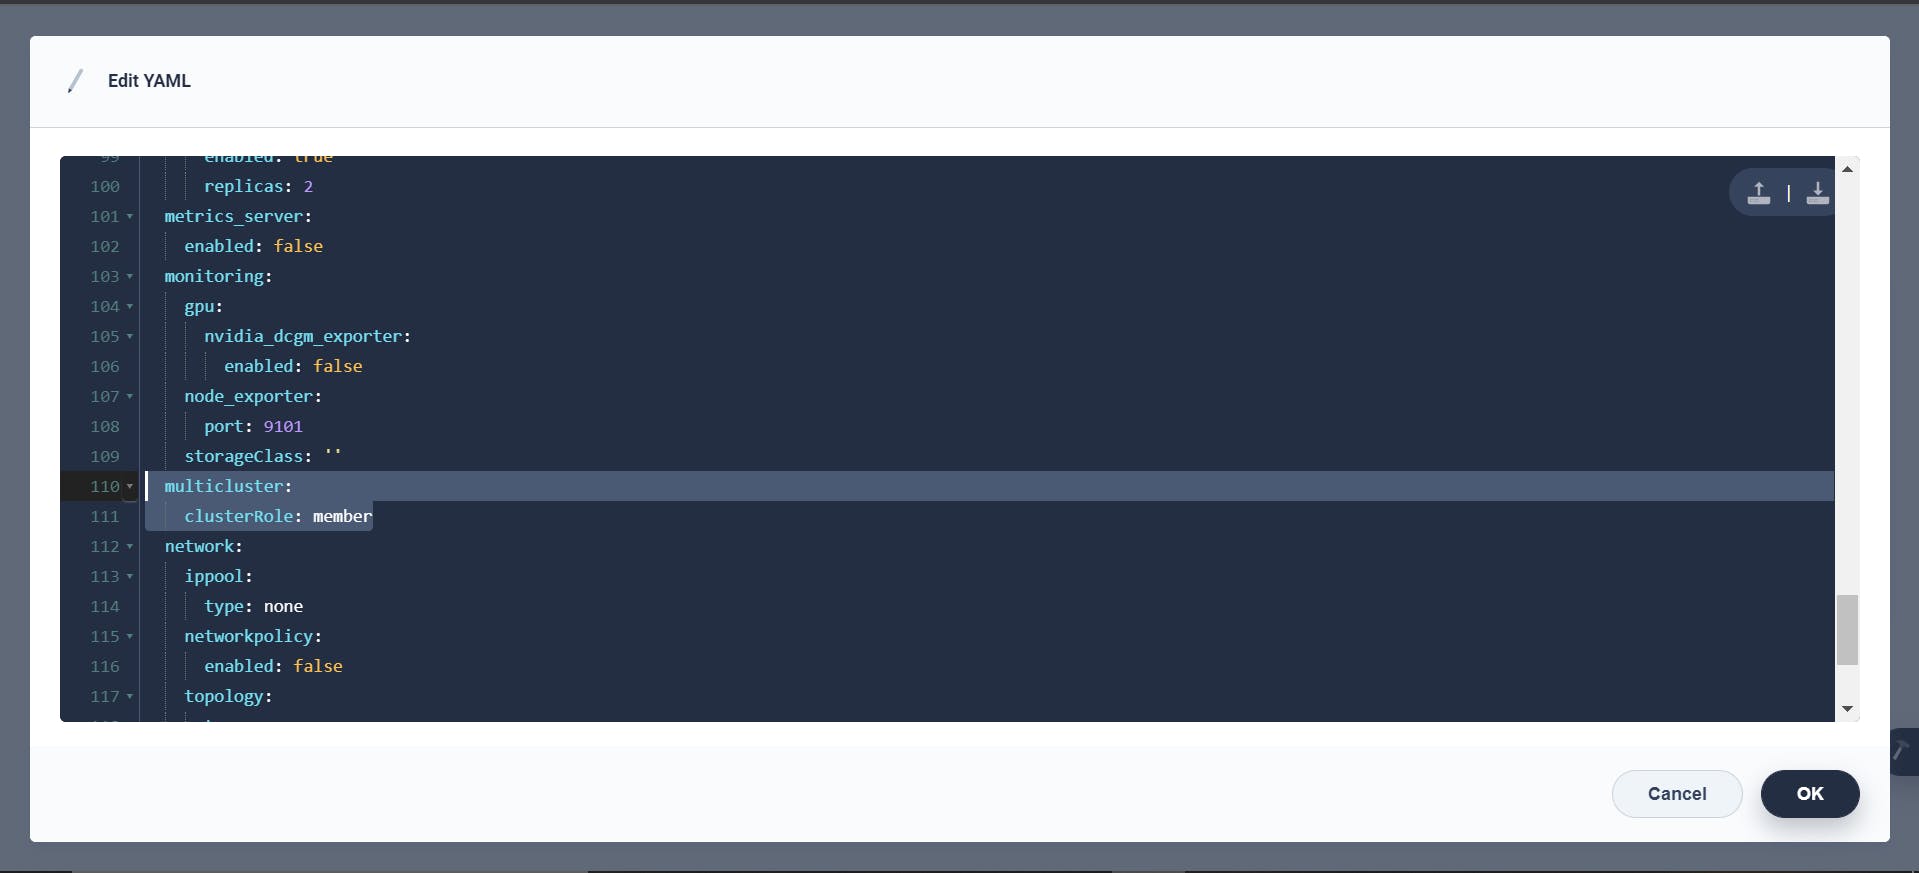
Then you just need to add the member cluster to the host cluster and then you can manage the member cluster without even opening it.
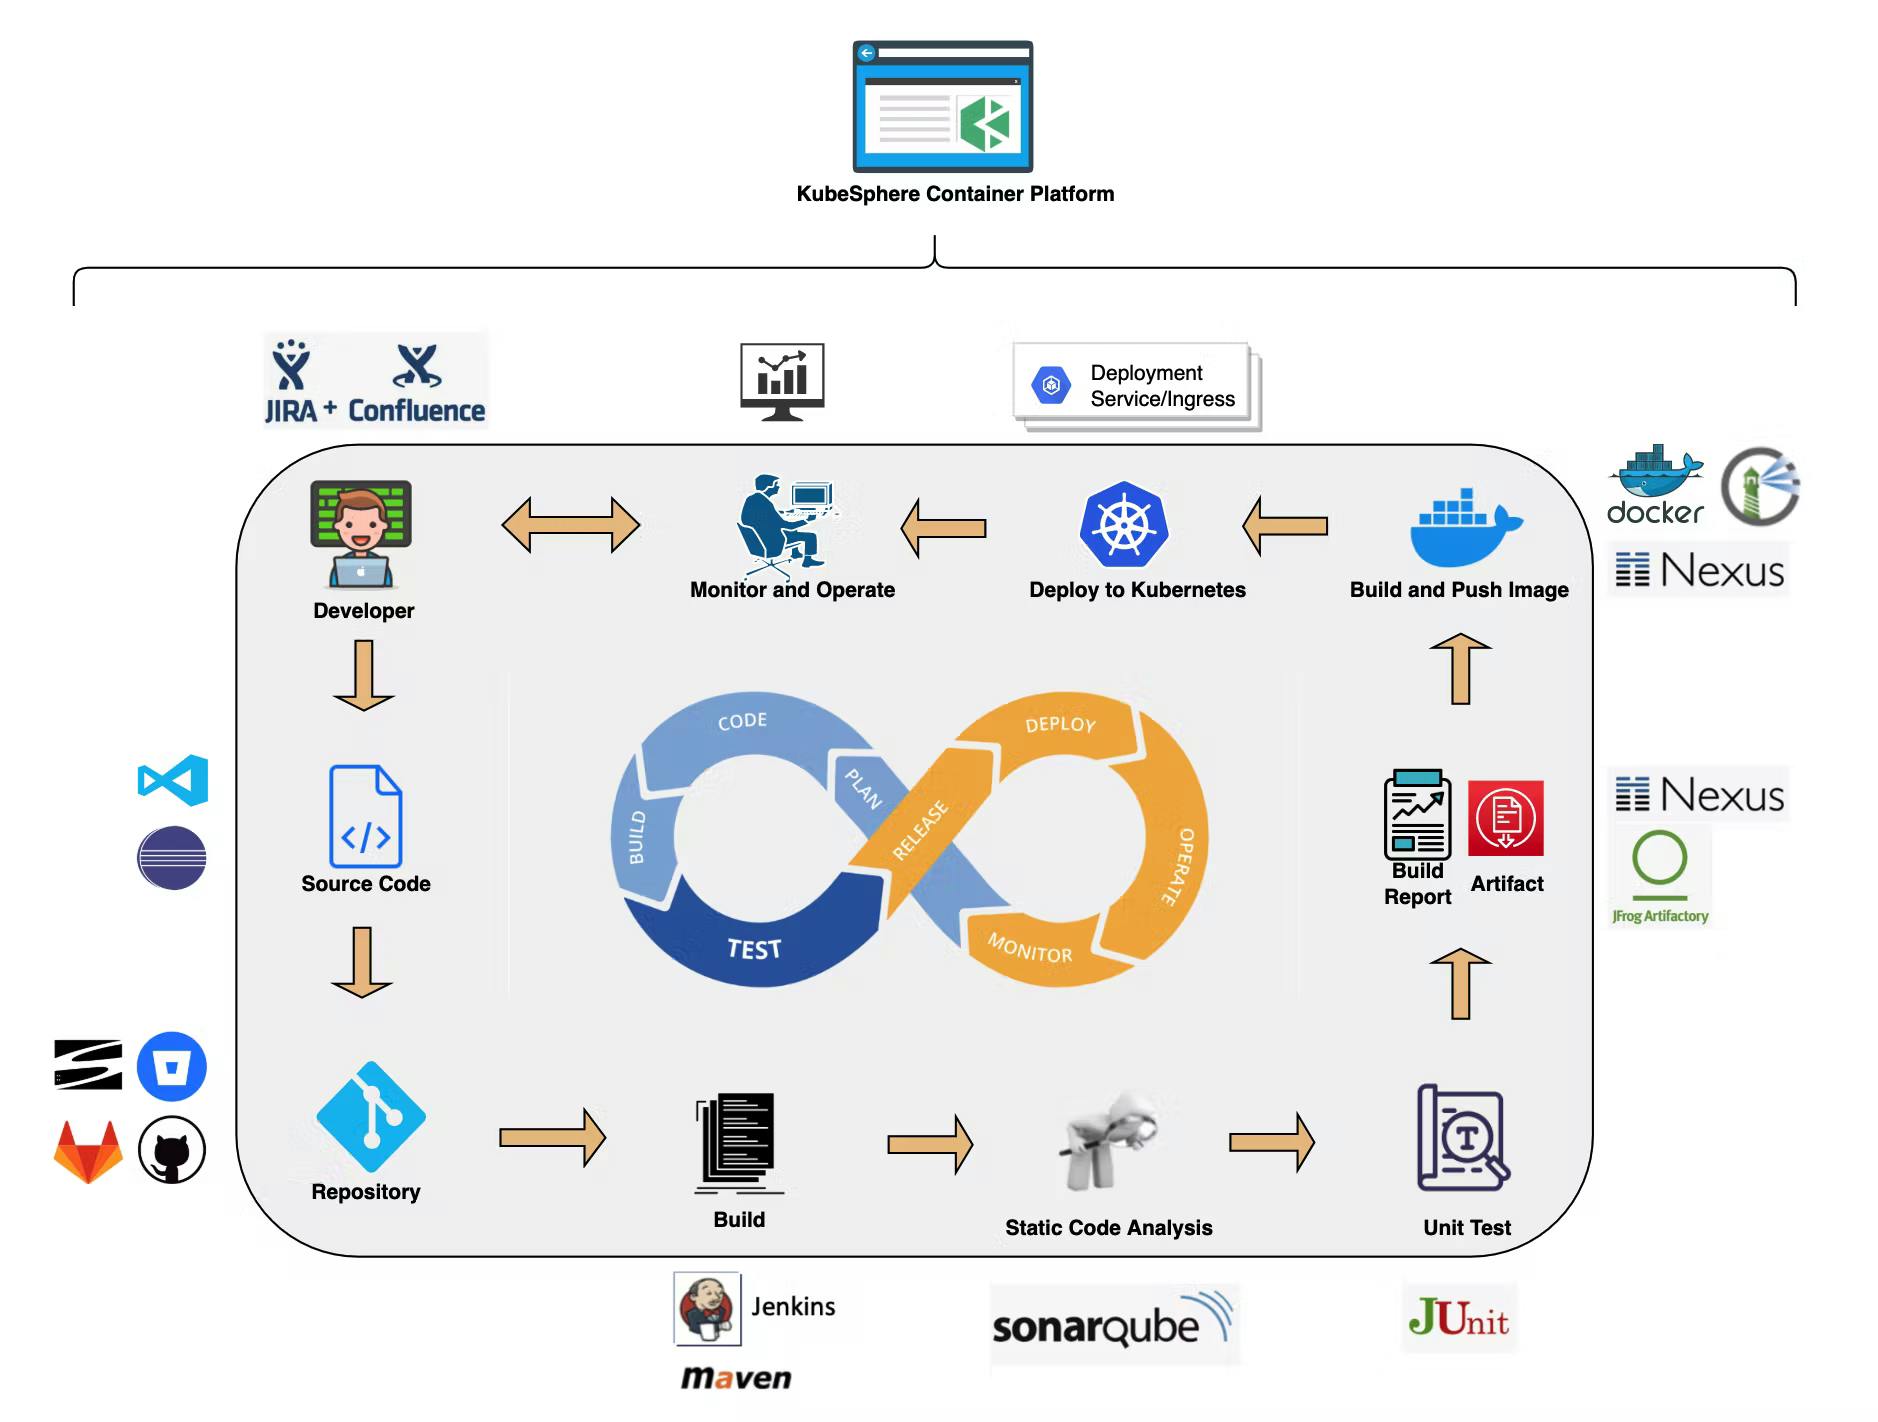
DevOps Support
Based on Jenkins, KubeSphere provides a one-stop DevOps system for the use cases of Kubernetes and containers, including rich CI/CD pipeline building and plug-in management functions, Binary-to-Image (B2I), and Source-to-Image (S2I). Code dependency caching support is also provided for pipelines, S2I, and B2I, as well as other functions such as code quality management and pipeline logging.
The built-in DevOps system of KubeSphere smoothly combines application development and automated release with the container platform. It also supports the integration of third-party private image registries and code repositories, which brings improved CI/CD functions under private scenarios and provides end-to-end user experiences.